VM Setup Steps
VM Setup Steps
VM Creation In Proxmox
To create a new VM in Proxmox:
- Select the Node for the VM to run on.
- Enter the VM Name (can be changed later).
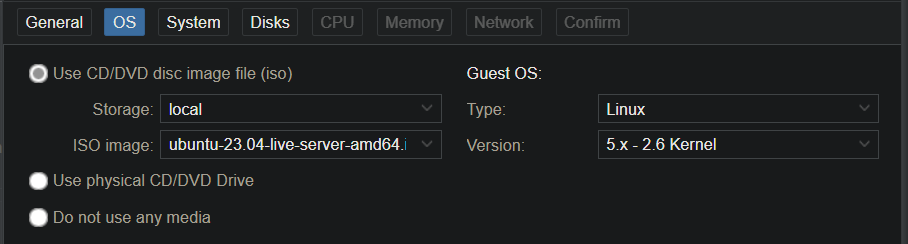
- Choose ISO Location and Image.

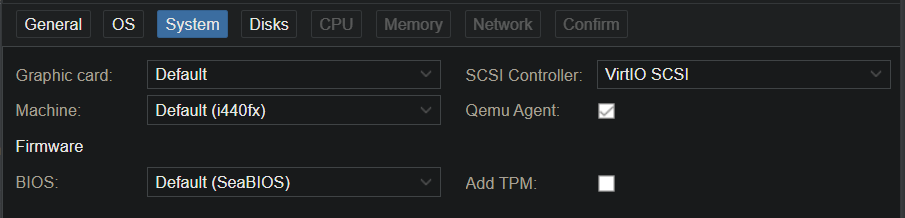
- For non-Windows Machines, the default system settings are valid.
- Check ‘Qemu Agent’.
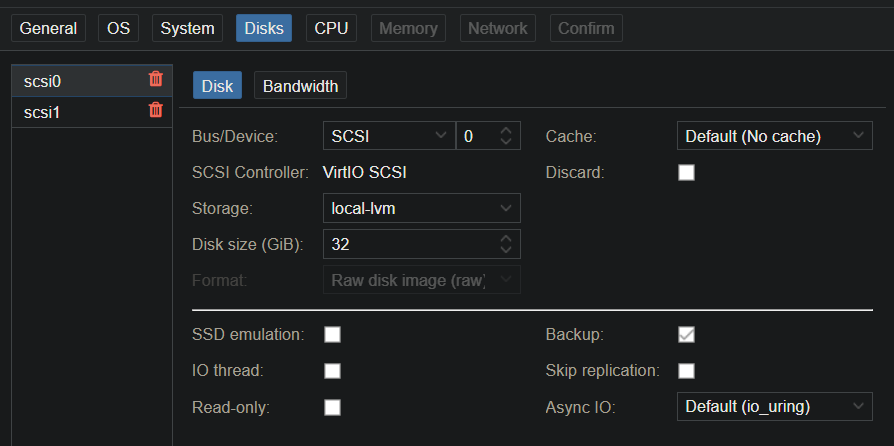
- Select VHD Storage location. Either local-lvm (local host storage) or mounted share.
- Choose Disk Size.
- Choose CPU Cores.

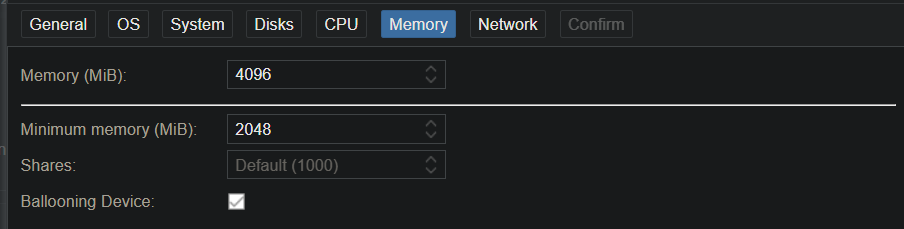
- Choose default and minimum RAM to allocate and ballooning (automatically allocate more RAM as needed up to the default value). Note: GPU passthrough cannot be enabled with ballooning.
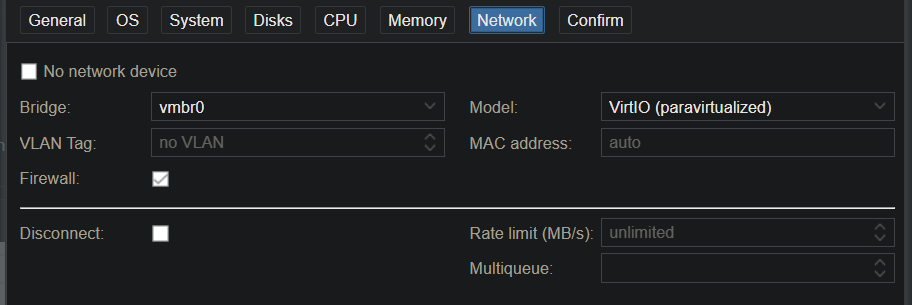
- Adjust Network settings as needed. Defaults are valid.
Related Posts
This post is licensed under CC BY 4.0 by the author.